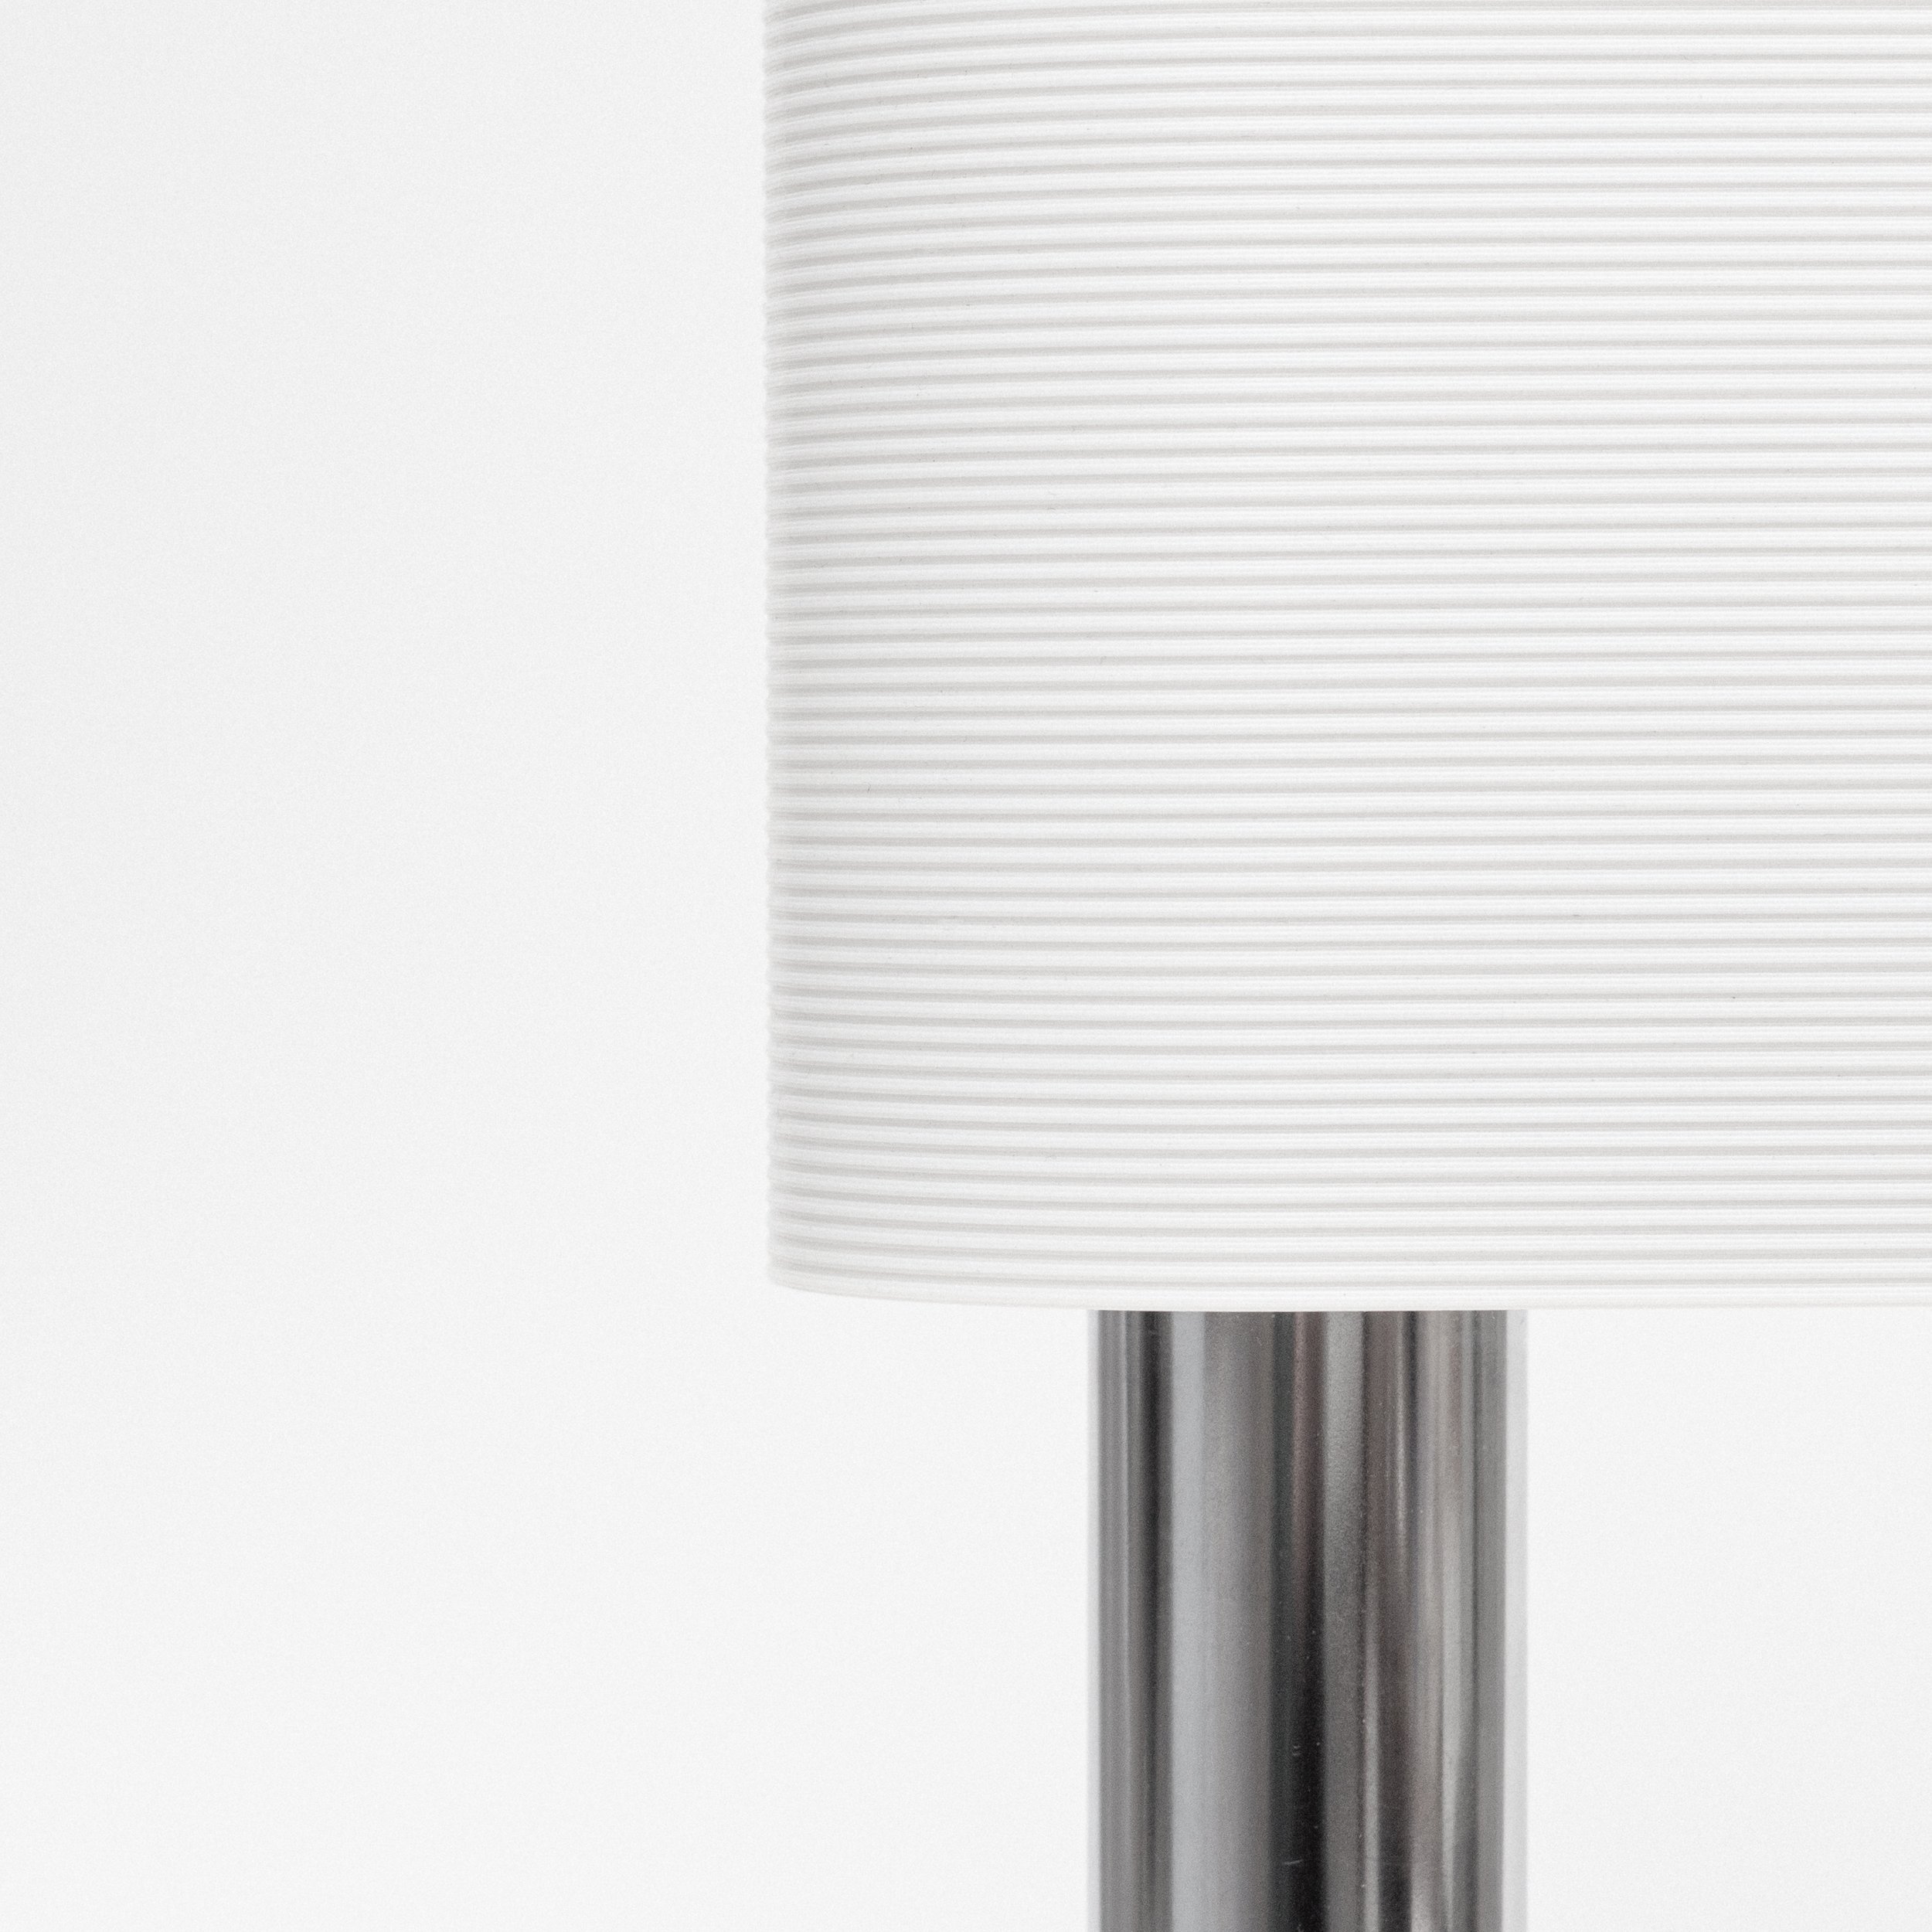
sun mimicking lamp
2022, independent project
This lamp utilizes GPS data to dynamically mimic the brightness, color, and atmospheric gradients of natural sunlight, throughout the day. This regulates our circadian rhythm, offering numerous health benefits, particularly for individuals affected by seasonal depression. The light calculations are performed offline with an internal microcontroller, allowing it to function as a traditional lamp without requiring WIFI, Bluetooth, or any additional setup processes beyond simply plugging it in. The yellow knob can be pressed to turn the lamp ON/OFF, and rotated for dimming.
*these are photographs, not renders*


*view desktop site to see design process*
inspiration
The inspiration for this project came from observing the noticeable shift in mood and energy that occurs when spending time outside in the sun, as opposed to being indoors. Although I knew sunlight was a primary factor, I hadn't fully realized the impact of lighting and the poor quality of most indoor lighting. It motivated me to research it, and create something better.
research
our circadian rhythm
The circadian rhythm is a 24-hour cycle that governs many physiological processes in our body. It relies on a highly light-sensitive pigment in our eyes called melanopsin, which communicates with the suprachiasmatic nucleus (SCN) in the brain. The SCN controls essential physiological functions such as blood pressure regulation, hormone secretion, body temperature control, and more. These processes directly impact our mood, metabolism, immune system, alertness, focus, and energy levels. Failing to regulate our circadian rhythm over an extended period of time can lead to depression, which is why seasonal affective disorder (SAD) is so prevalent.
the issue with artificial light
Melanopsin, the light-sensitive pigment in our eyes, is most responsive to shorter wavelengths, particularly blue light, with peak effectiveness at around 480 nm—the same wavelength emitted by sunlight. The sun emits this light at a brightness of ~10000 lux, about 50 times more than indoor light. Despite this 50-fold difference, we don't perceive the difference because our brains are excellent at adapting to various light levels. However, if our melanopsin functioned as a visual receptor, the indoors would appear nearly pitch black in comparison. We now spend about 90% of our time indoors, and most of that time our brain only “sees” darkness.
the importance of good quality light
Brightness is not the only factor in regulating our circadian rhythm. The crucial aspect is getting the correct color of light, specific ally wavelengths around 480 nm. Unfortunately, many LED lights have a lower output in this specific range. Meaning that, despite appearing visually bright, they still lack sufficient 480 nm light to stimulate our circadian rhythm. This effect can be measured through the Color Rendering Index (CRI) of an led. It measures how closely artificial light matches sunlight on a scale of 0 to 100. It helps evaluate the similarity between artificial light and natural sunlight. High CRI light produces more true and vivid colors, just like the sun.
why dynamic light is important
As much as we rely on the presence of 480 nm to give us energy and regulate our circadian rhythm. We also rely on the lack of it, specifically to make us tired. The amount of 480 nm light (sunlight) is of course changing constantly as the sun moves in the sky throughout the day and year. The closer this project is to mimicking that, the better.
existing solutions and their issues
There are many SAD lamps available for regulating our circadian rhythm. However, these lamps often have low brightness and low CRI, requiring one's face to be just inches away to experience any benefits. Moreover, these lamps emit the same static color and brightness of light throughout the day. Another potential solution is smart bulbs, which can dynamically mimic sunlight and often have a high CRI. However, even these bulbs are often not sufficiently bright, and introduce unnecessary complexities such as Wi-Fi, Bluetooth, and setup, which I believe are not essential for a simple lamp.
my plan
My plan involved using two separate LED strips: a bright, high CRI white strip to replicate the illumination of daylight, and an addressable RGB LED strip to introduce colors and gradients as the day progresses. To accurately mimic sunlight (without relying on Wi-Fi connectivity) I would require time and location information. This can be accomplished with a GPS unit.
sun elevation angle math
The GPS unit provides essential information like the current time, precise location, and date, enabling the calculation of the sun's elevation angle. This angle correlates directly with the brightness, color, and gradients produced by atmospheric conditions throughout the day and year.
design
aesthetics
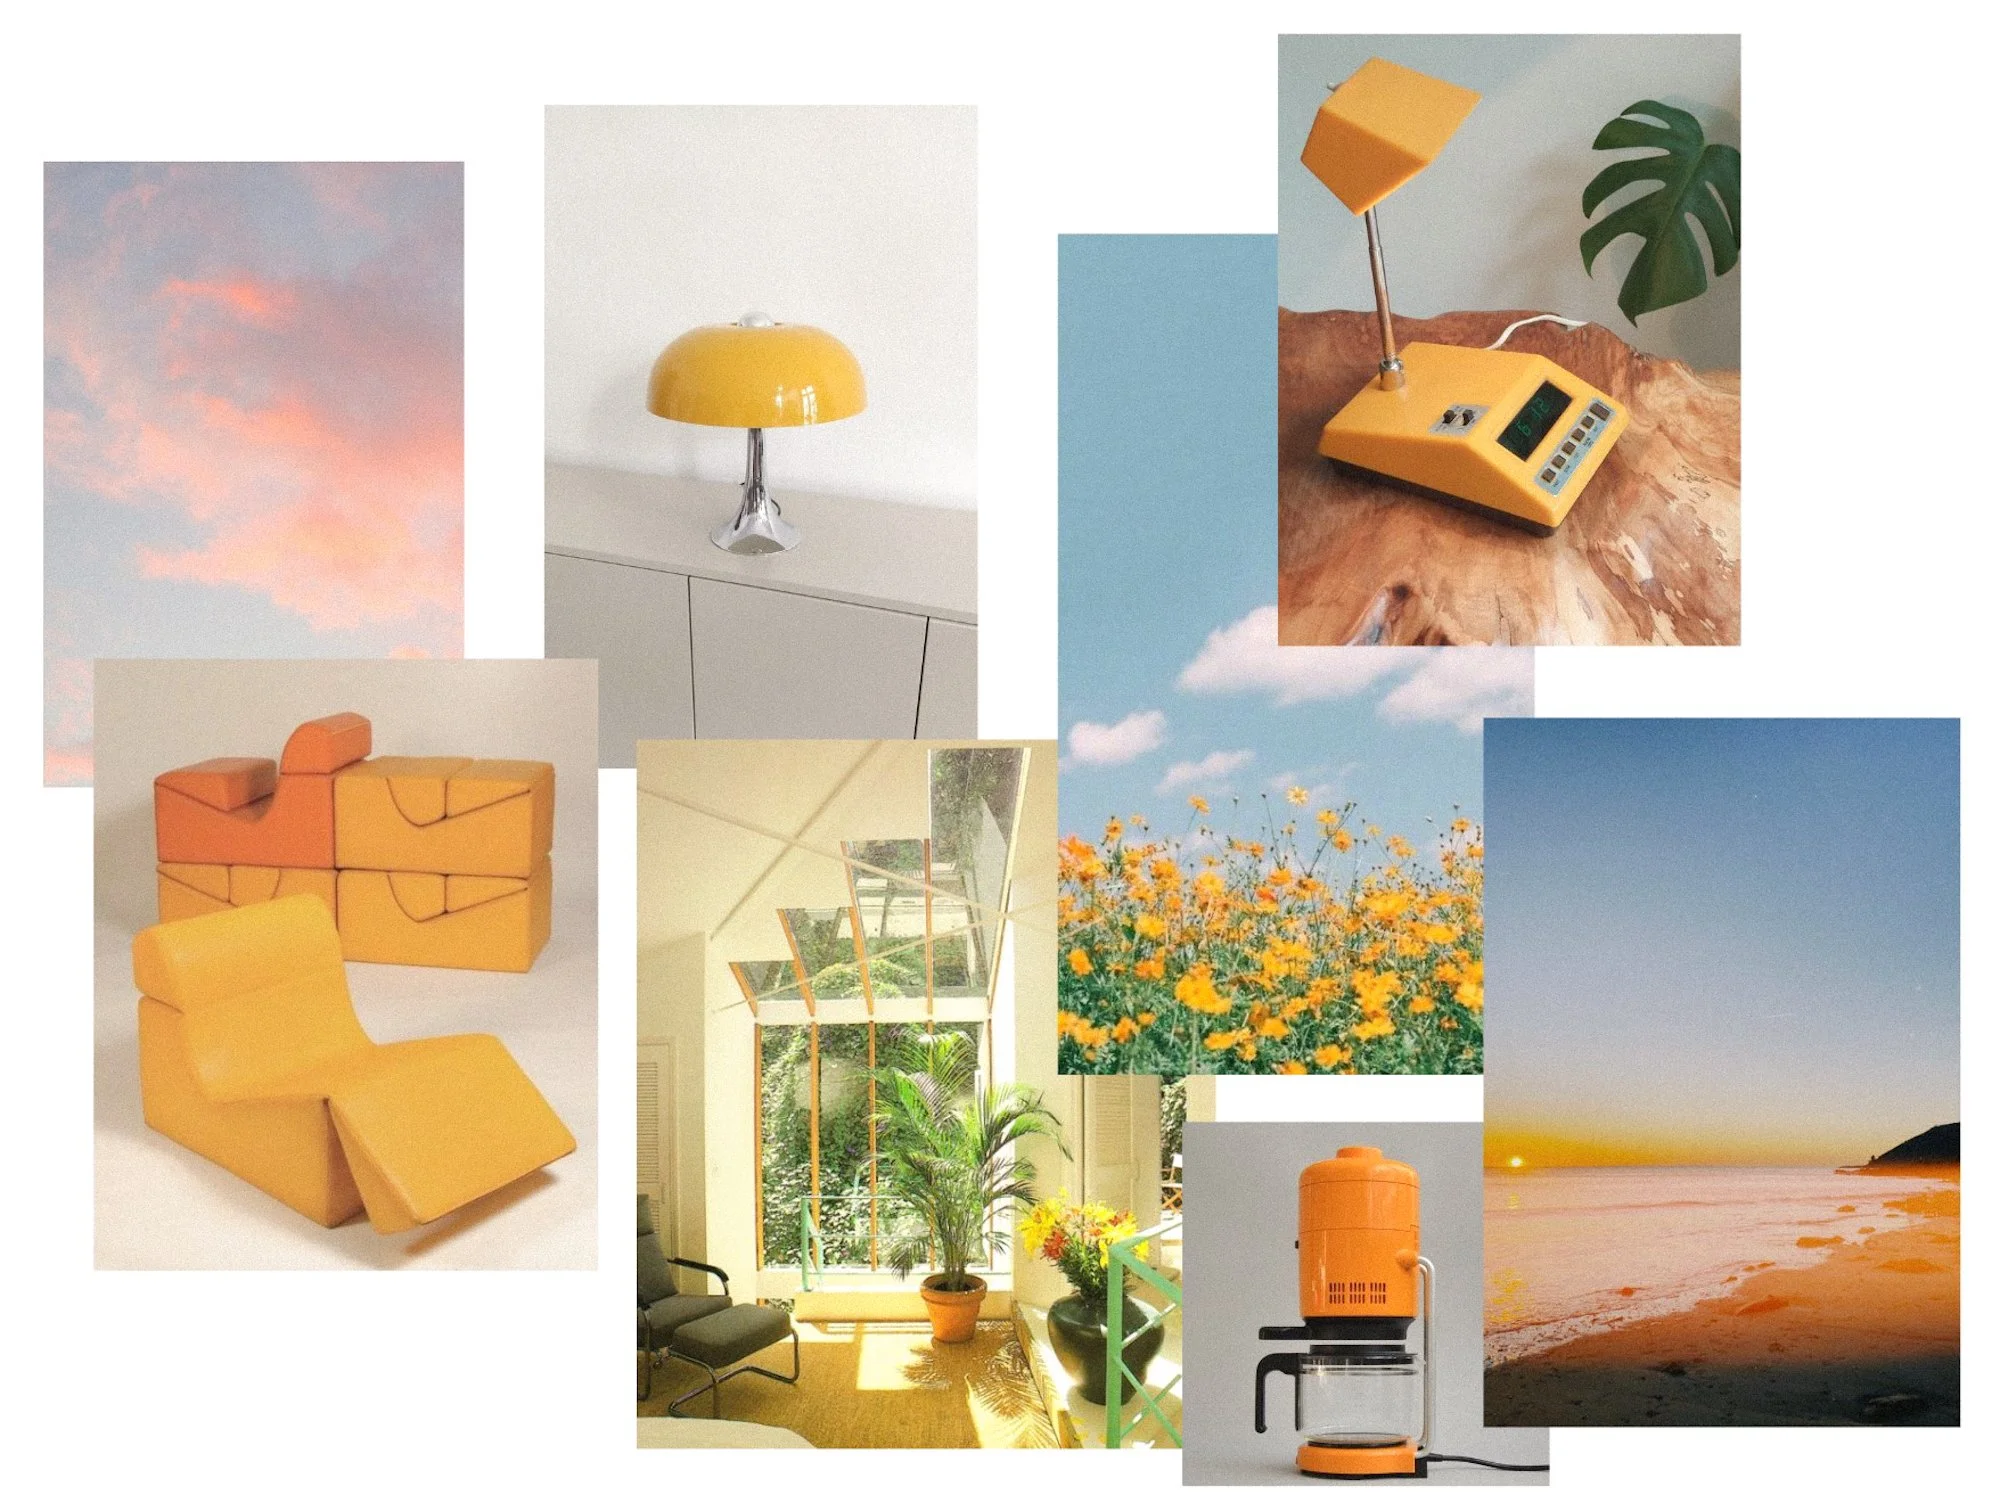
I took inspiration from space-age designs of the 50s and 60s, incorporating pops of bright colors and polished metal. I wanted the lamp to feel light and airy which led to a cantilever design suspending the lamp shade in the air. The design is meant to disappear for the most part, with the main focus being on the light itself.
the lamp shade
Instead of simply emitting light, I aimed for the lamp shade to serve as almost a display screen for gradients and colors. Initially, I considered a flat, one-dimensional panel, but decided on a design that emits light in all directions. This helps better mimic sunlight, particularly when the lamp is near a wall, projecting light onto it. To break up the large flat surface, I added a corrugated texture to the lamp shade. This texture helps diffuse the light and add structural strength. Before finalizing the design, I experimented with various forms, ultimately settling on the chosen direction.
interface
As previously mentioned, I wanted to maintain the essence of a traditional lamp. I deliberately avoided incorporating features such as a separate app, Wi-Fi, or Bluetooth connectivity, aiming for a design that is reliable, straightforward, and easy to use. The lamp's interface comprises a single button that serves a dual function: pushing it turns the lamp on and off, while rotating it controls the dimming. Since the lamp mimics the sun's movements, it may be safely left on overnight, as it remains inactive for approximately 12 hours during the day.
creation
programming
To map the sun's elevation angle, I developed functions for the red, green, and blue values of the RGB LED strip, along with a function for the brightness of the white LED strip. Using trial and error, I determined the brightness levels for each RGB LED color at various times of the day to determine what best matched actual sunlight. By establishing values at three-hour intervals I could then fit a curve to these data points, creating a functions to set the LED values throughout the day based on the sun's elevation angle. This process was applied separately for both the midnight to afternoon and afternoon to midnight time durations, enabling different sunset and sunrise gradients.
The sunset/sunrise gradients are a result of doing this process for both the top LED color and the bottom LED color. Linear interpolation could then be used to calculate the intermediate values based on the height of the LEDs, creating the desired gradient. The code calculates the new values for each LED every second.
components
The selection of high-quality LED strips was important for the success of this project. Choosing the RGB strips was relatively straightforward, as their color rendering index (CRI) was not a critical factor. I opted for WS2812B addressable LED strips. However, for the white LED strip, it was essential to prioritize a high CRI, good color reproduction, and high brightness. I selected 5600k film grade white LED strips from waveform lighting with 95+ CRI and excellent brightness. These specifications come at a penalty of power efficiency.
I also needed a small microcontroller, a GPS unit, as well as additional electrical components such as a potentiometer, push button, MOSFETs for dimming control, resistors, capacitors, and connectors. I chose the Arduino Nano for the brains along with a BN-220 GPS unit for their small size and ease of use. For the lamp's physical design, I wanted a large chrome metal tube. However, due to availability and cost considerations, polished steel tubing was not a viable option. Instead, I opted for a readily available and cost-effective alternative—a chrome-plated brass tubing. These are commonly used in plumbing applications and could be bought from a local hardware store for under $20. All other mechanical components, except for fasteners, were designed and 3D printed.
the general design
The design is divided into two sections: the base and the upper portion. The base houses the smaller electrical components and buttons, while the upper portion houses the LED strips, voltage converters, and other necessary components. The chrome tubing serves as a connecting element between the top and bottom, creating a cantilever structure. It not only provides structural integrity but also allows for the passage of cables and facilitates airflow for cooling the LEDs.
getting the Light to look right
Getting the exact diffusion properties for the light to produce a continuous gradient took a lot of trail and error. I tested different filaments materials, adjusted the distance from the shade, the thickness of the shade, etc. to find a combination that works. Additionally, I had to deal with the color distortion caused by the shade material (yellow/green distortion). To mitigate this I manually calibrated it by reassigning each of the red, green, and blue values to be more accurate.
LED spiral and cooling
To streamline the process and reduce soldering time, I chose to spiral the LEDs around an aluminum sheet metal heatsink that was bent with 3D printed jigs. This created a sealed internal cavity for certain electrical components and fans. The arrangement consists of alternating white and RGB LED strips, totaling 657 individual LEDs, outputting 13000 lux from 6ft away at max brightness.
All those LEDs produce a considerable amount of heat, especially during daylight at maximum brightness. Although initially hopeful the aluminum alone would suffice, thermal calculations showed the need for an active cooling system with fans. Mesh grilles were incorporated at the bottom of the base and the shade to facilitate airflow. Three 40mm fans were installed within the heatsink, drawing air from the base, passing it through the tubing, expelling the heated air outwards, cooling the aluminum heatsink.
printing it
The majority of the printed components were straightforward, with the exception of the shade. Given its large and thin structure, warping during printing was a significant challenge. Additionally, I wanted to ensure the shade was a continuous structure with no visible seam, so the shade to be printed as a single continuous spiral with a limited wall thickness of 1.25 mm. A corrugated texture was added to enhance strength, conceal layer lines, and diffuse light. But warping issues still persisted. Instead, after printing, I placed the side of the shade on the heated bed of my 3D printer and applied pressure with a book. This allowed the shade to remelt permanently nice and flat, eliminating any warping. This required lots of experimentation to determine the right temperature and duration, but ultimately It was effective in fixing the warping issue.
closing thoughts
Overall, I’m very happy with the outcome of this project, it came out how I wanted aesthetically, and functionally. Devices like this will become increasingly important as we spend more and more time inside, and in front of screens. In the near future, I would like to experiment with different form factors (hanging on walls, portable, bulbs, etc). I would also like to experiment with implementing more software features in a simple and user-friendly way.


