gyroid lattice speaker
2023, independent project
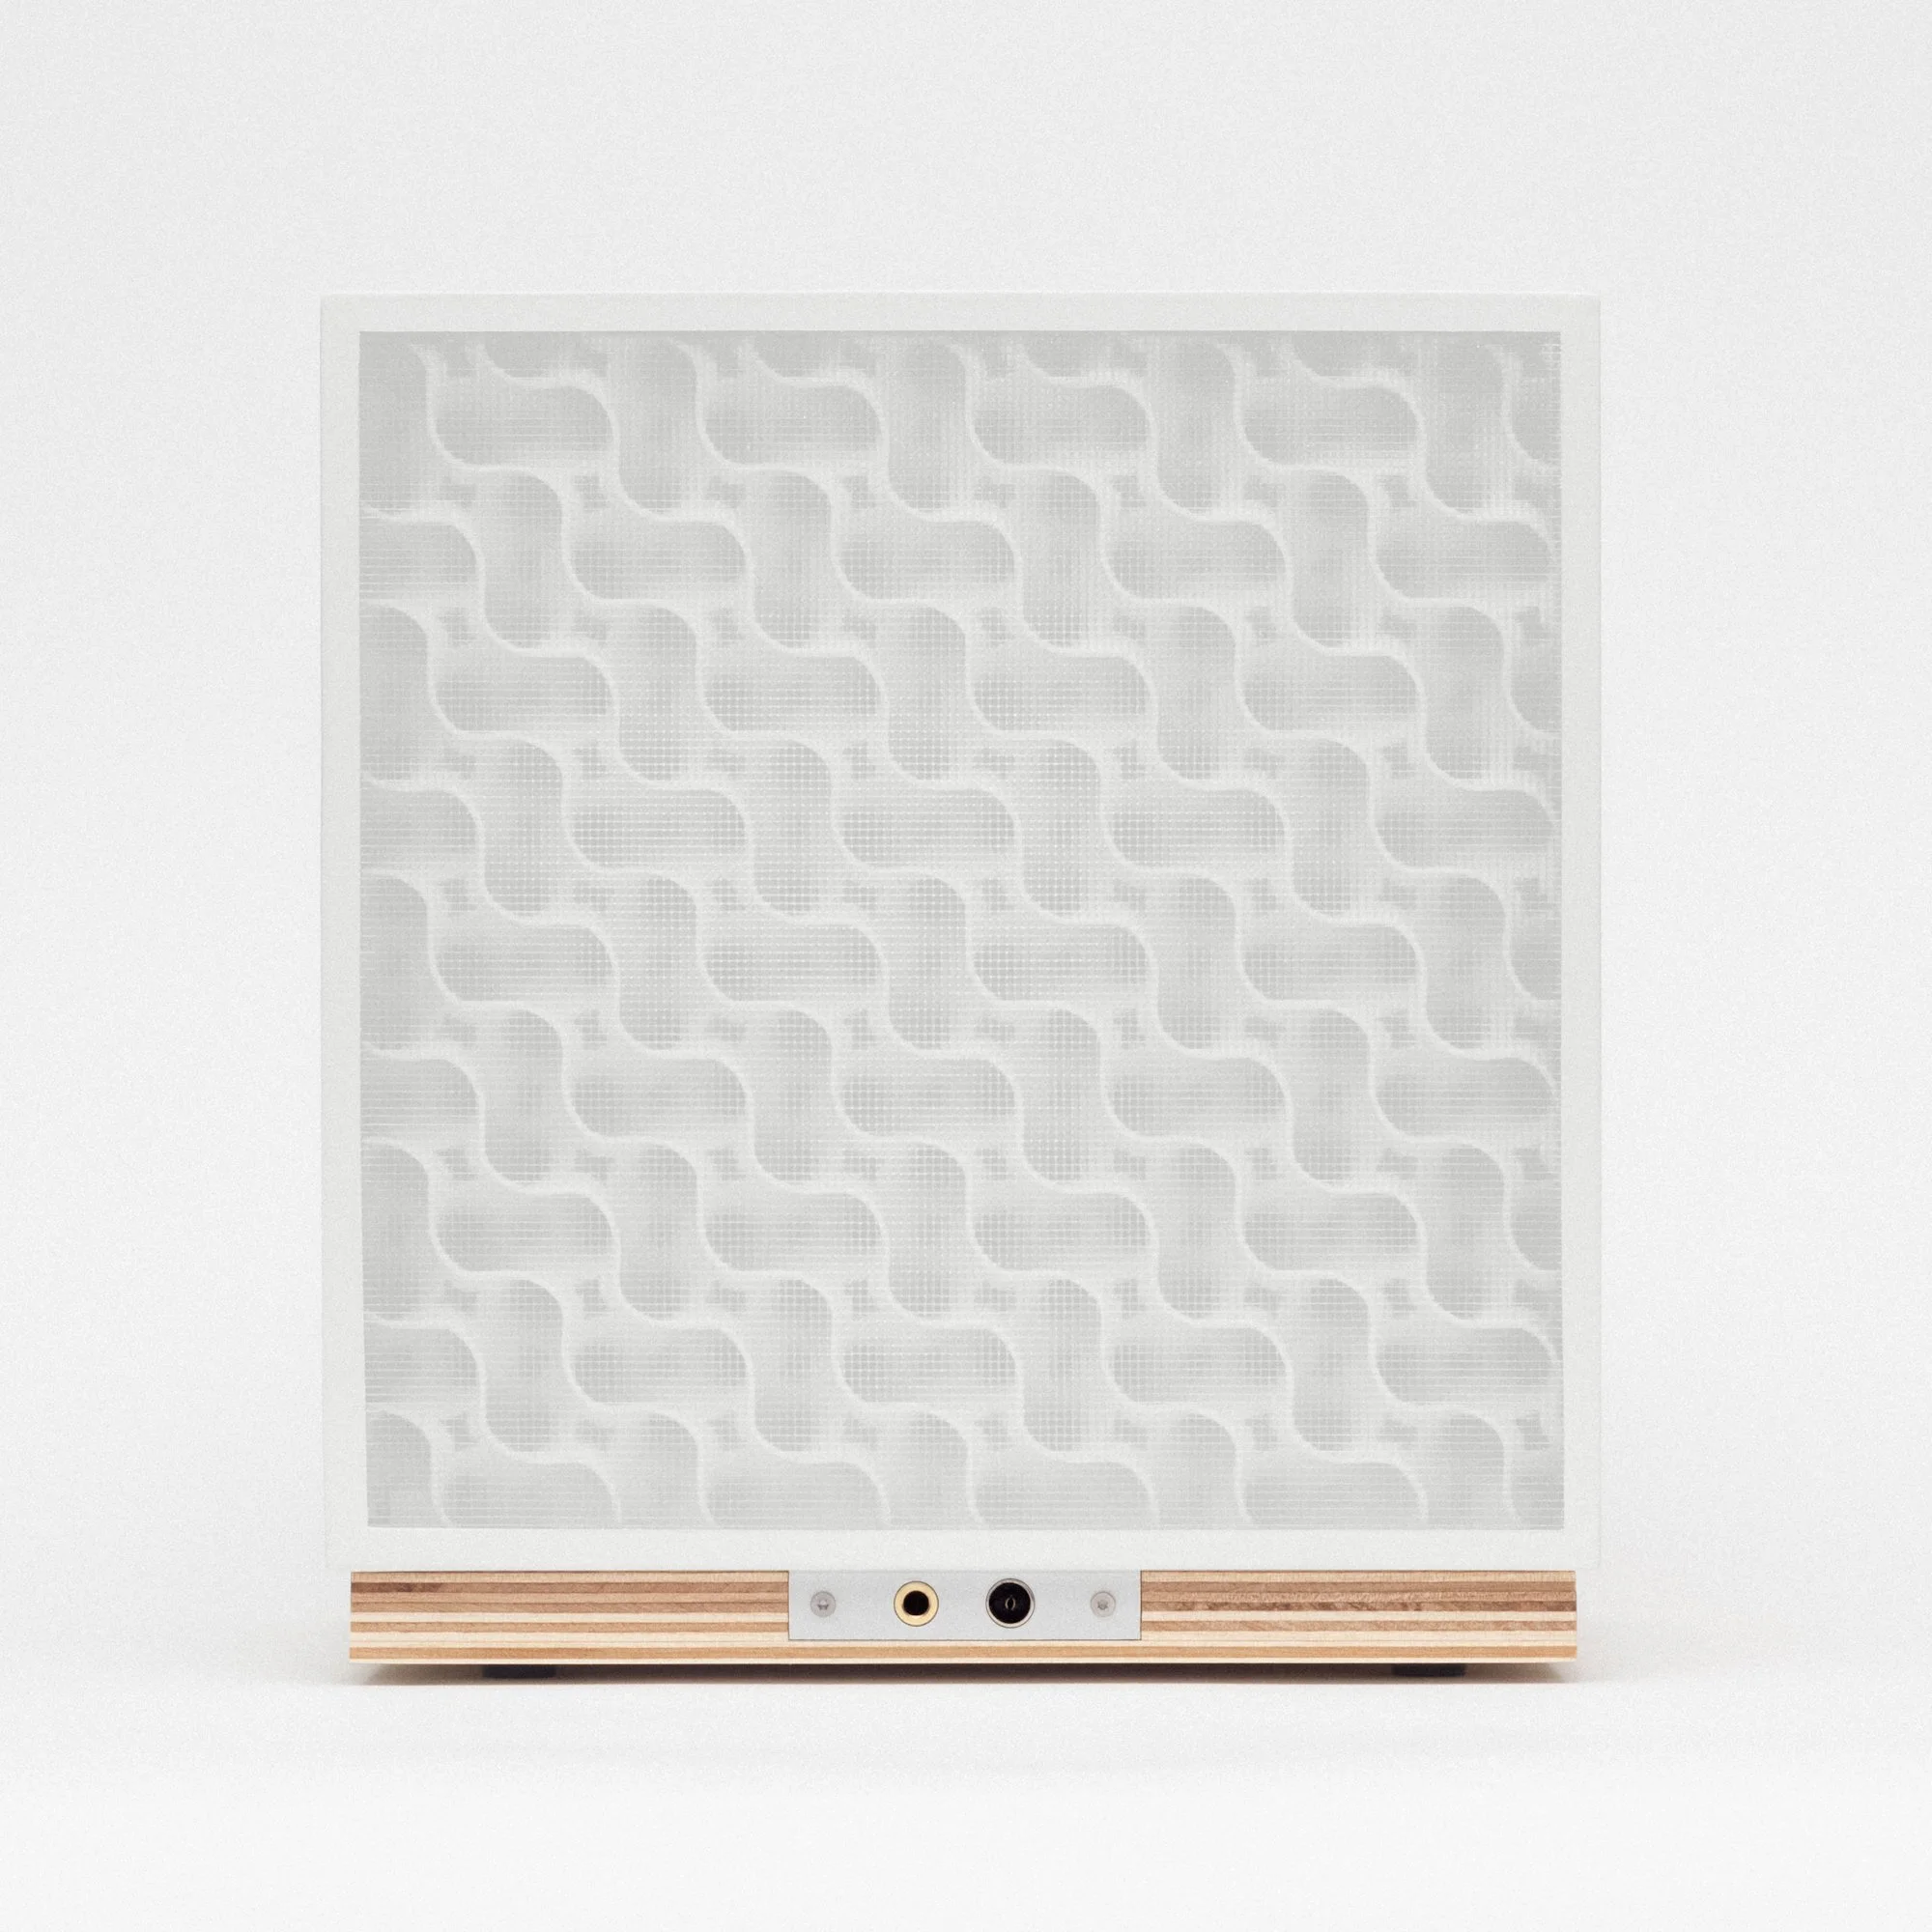
This 3D printed speaker uses a thin outer shell connected by a gyroid lattice: a naturally occurring structure discovered in 1970 by NASA researcher Alan Schoen. It can be found in butterfly wings, bird feathers, and inside cells. It can also approximate other natural structures like bone marrow. When used in a speaker, its unique strength and acoustic properties reduce resonance and diffuse unwanted internal sound waves, improving overall sound quality while using little material.
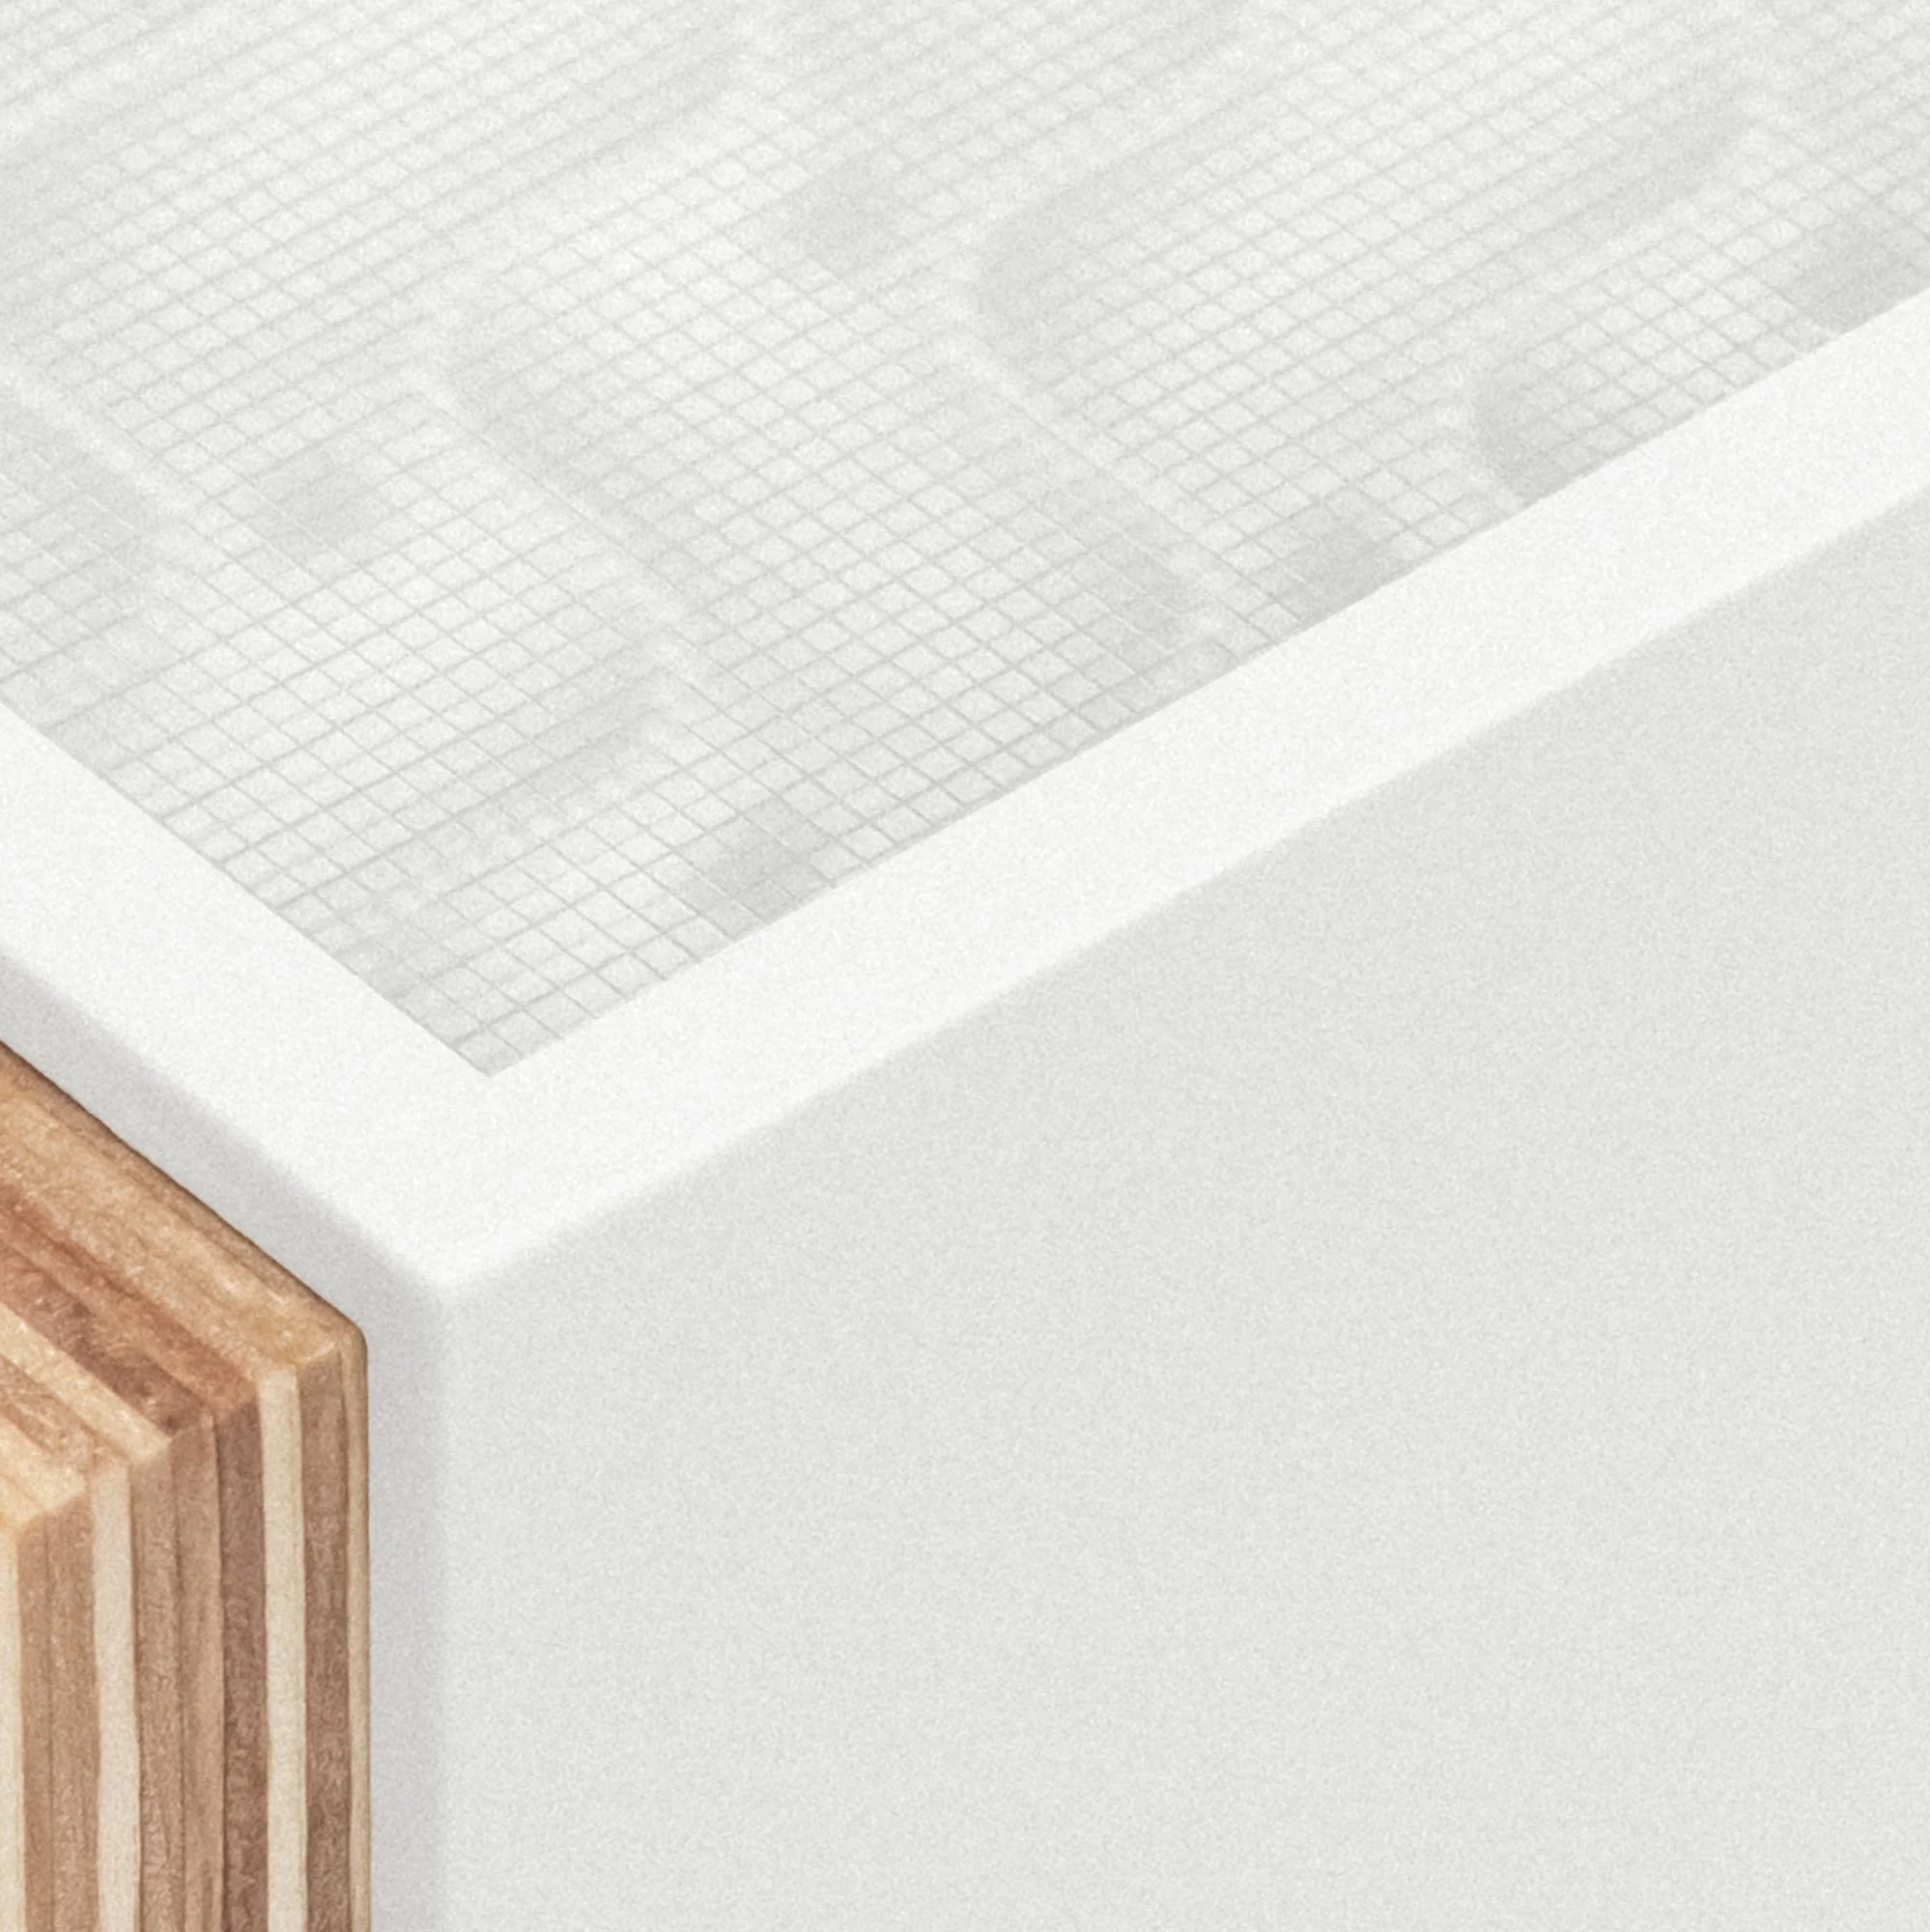
*these are photographs, not renders*




*view desktop site to see design process*
inspiration
Most speaker enclosures are made with MDF or wood. They use thick, solid panels to form a rigid box. 3D printed speakers also mimic this method; thick side panels and an empty inside. Instead, I wanted to explore a more innovative approach to speaker enclosure design that utilized the unique geometry possible with 3D printing.
research
the theory
A speaker enclosure is a sealed box with a hole in the front for mounting the speaker driver. The speaker driver moves back and forth to produce sound. The sound you hear comes from the front of the speaker, but it also generates the same sound in the opposite direction. This sound can bounce around inside the enclosure and disrupt the sound from the front, this isn't good for sound quality. Additionally, the pressure changes inside the enclosure causing the outer walls to flex and vibrate, this also isn't good for sound quality.
To mitigate internal vibrations sound diffusion or absorption material can be added to the inside of the enclosure. An internal bracing structure can also be added to mitigate the external enclosure vibrations. The idea with this project is to combine both bracing and sound absorption into a single 3D printed lattice in hopes to eliminate both internal and external vibrations.
what is a gyroid lattice and why is it used?
The gyroid lattice is a naturally occurring structure that is incredibly strong, lightweight, and excellent at diffusing vibrations. Although Other lattices would function more or less the same, the gyroid has three important properties:
Its open cell and permeable, meaning it contains no closed pockets of air. This is essential because the speaker driver's performance is dependent on the internal volume of the enclosure.
It can be 3D printed really fast.
It looks cool.
simulations
To validate my theory, I utilized a CAD model and FEA to evaluate different design parameters. I approximated the gyroid lattice with a rectilinear lattice for faster simulation and modeling. Variations in wall thickness and infill density were varied while maintaining a constant internal volume.
I conducted 20 tests, including static and modal analyses. These simulations provided insights into the enclosure's vibration and sound characteristics. A stiffer box reduces outer panel vibrations, while higher resonance frequencies indicate lower amplitudes that can be dissipated effectively.
After I got the values, the results were normalized to find the best one based on certain objectives. The score number indicates its “importance” to me. It can be seen that infill density is more important than wall thickness in terms of stiffness. This comes at the penalty of size, cost, and print time.
Now that I had the theoretically "best" possible design paramters, I wanted to compare it to an MDF enclosure to determine if it is actually superior. I performed the exact same FEA simulations, and the results exceeded my expectations. Using the same ranking method, the worst 3D printed enclosure is only slightly outperformed by the MDF enclosure. While the best 3D printed enclosure significantly outperformed both MDF enclosures.
To keep things brief and readable, I left out many details. You can contact me if you’re curious about the testing methods, specific values of the FEA results, or the math behind it. Id be happy to share.
creation
the amplifier
The speaker is a two-way speaker with a woofer for low frequencies, and a tweeter for high frequencies so a crossover is needed to separate the sound into two channels. Additionally, I wanted it to work in mono and use digital signal processing (DSP) for sound tuning. I also wanted Wi-Fi capability for Airplay and Spotify Connect. Eventually, instead of designing my own amplifier, I found the Up2Stream by Arylic, which met all my requirements.
the speaker drivers
Since this speaker will be a mono single-source system, wide dispersion is crucial. To achieve this, I opted for a BMR driver from Tectonic and a silk dome tweeter from Dayton Audio. This combination delivers excellent dispersion and sound quality, at a very affordable price.
CAD model
Now that I had a clear understanding of the desired aesthetics and functionality of this project, it was time to start the CAD design process. Initially, my plan was to directly model the gyroid structure, but I discovered that it was much more efficient to create a solid body that represented the gyroid structure, then utilize slicer software (PrusaSlicer) to generate it. The overall model is relatively simple, as it essentially takes the form of a cube with additions for mounting different components.
aesthetics
showing off the gyroid
From the very start I knew I wanted at least some of the gyroid lattice visible. Originally, I wanted the whole thing to be clear instead of white, showing off the gyroid completely. And I spent too long trying to make that happen, but I just couldn't get it to look the way I wanted. So I settled for having a clear back only, and I'm glad I did. I 3D printed nearly 50 different test variations with different filament types, colors, infill densities, layer heights, orientation angles, etc. to decide what looked best.
keeping it simple
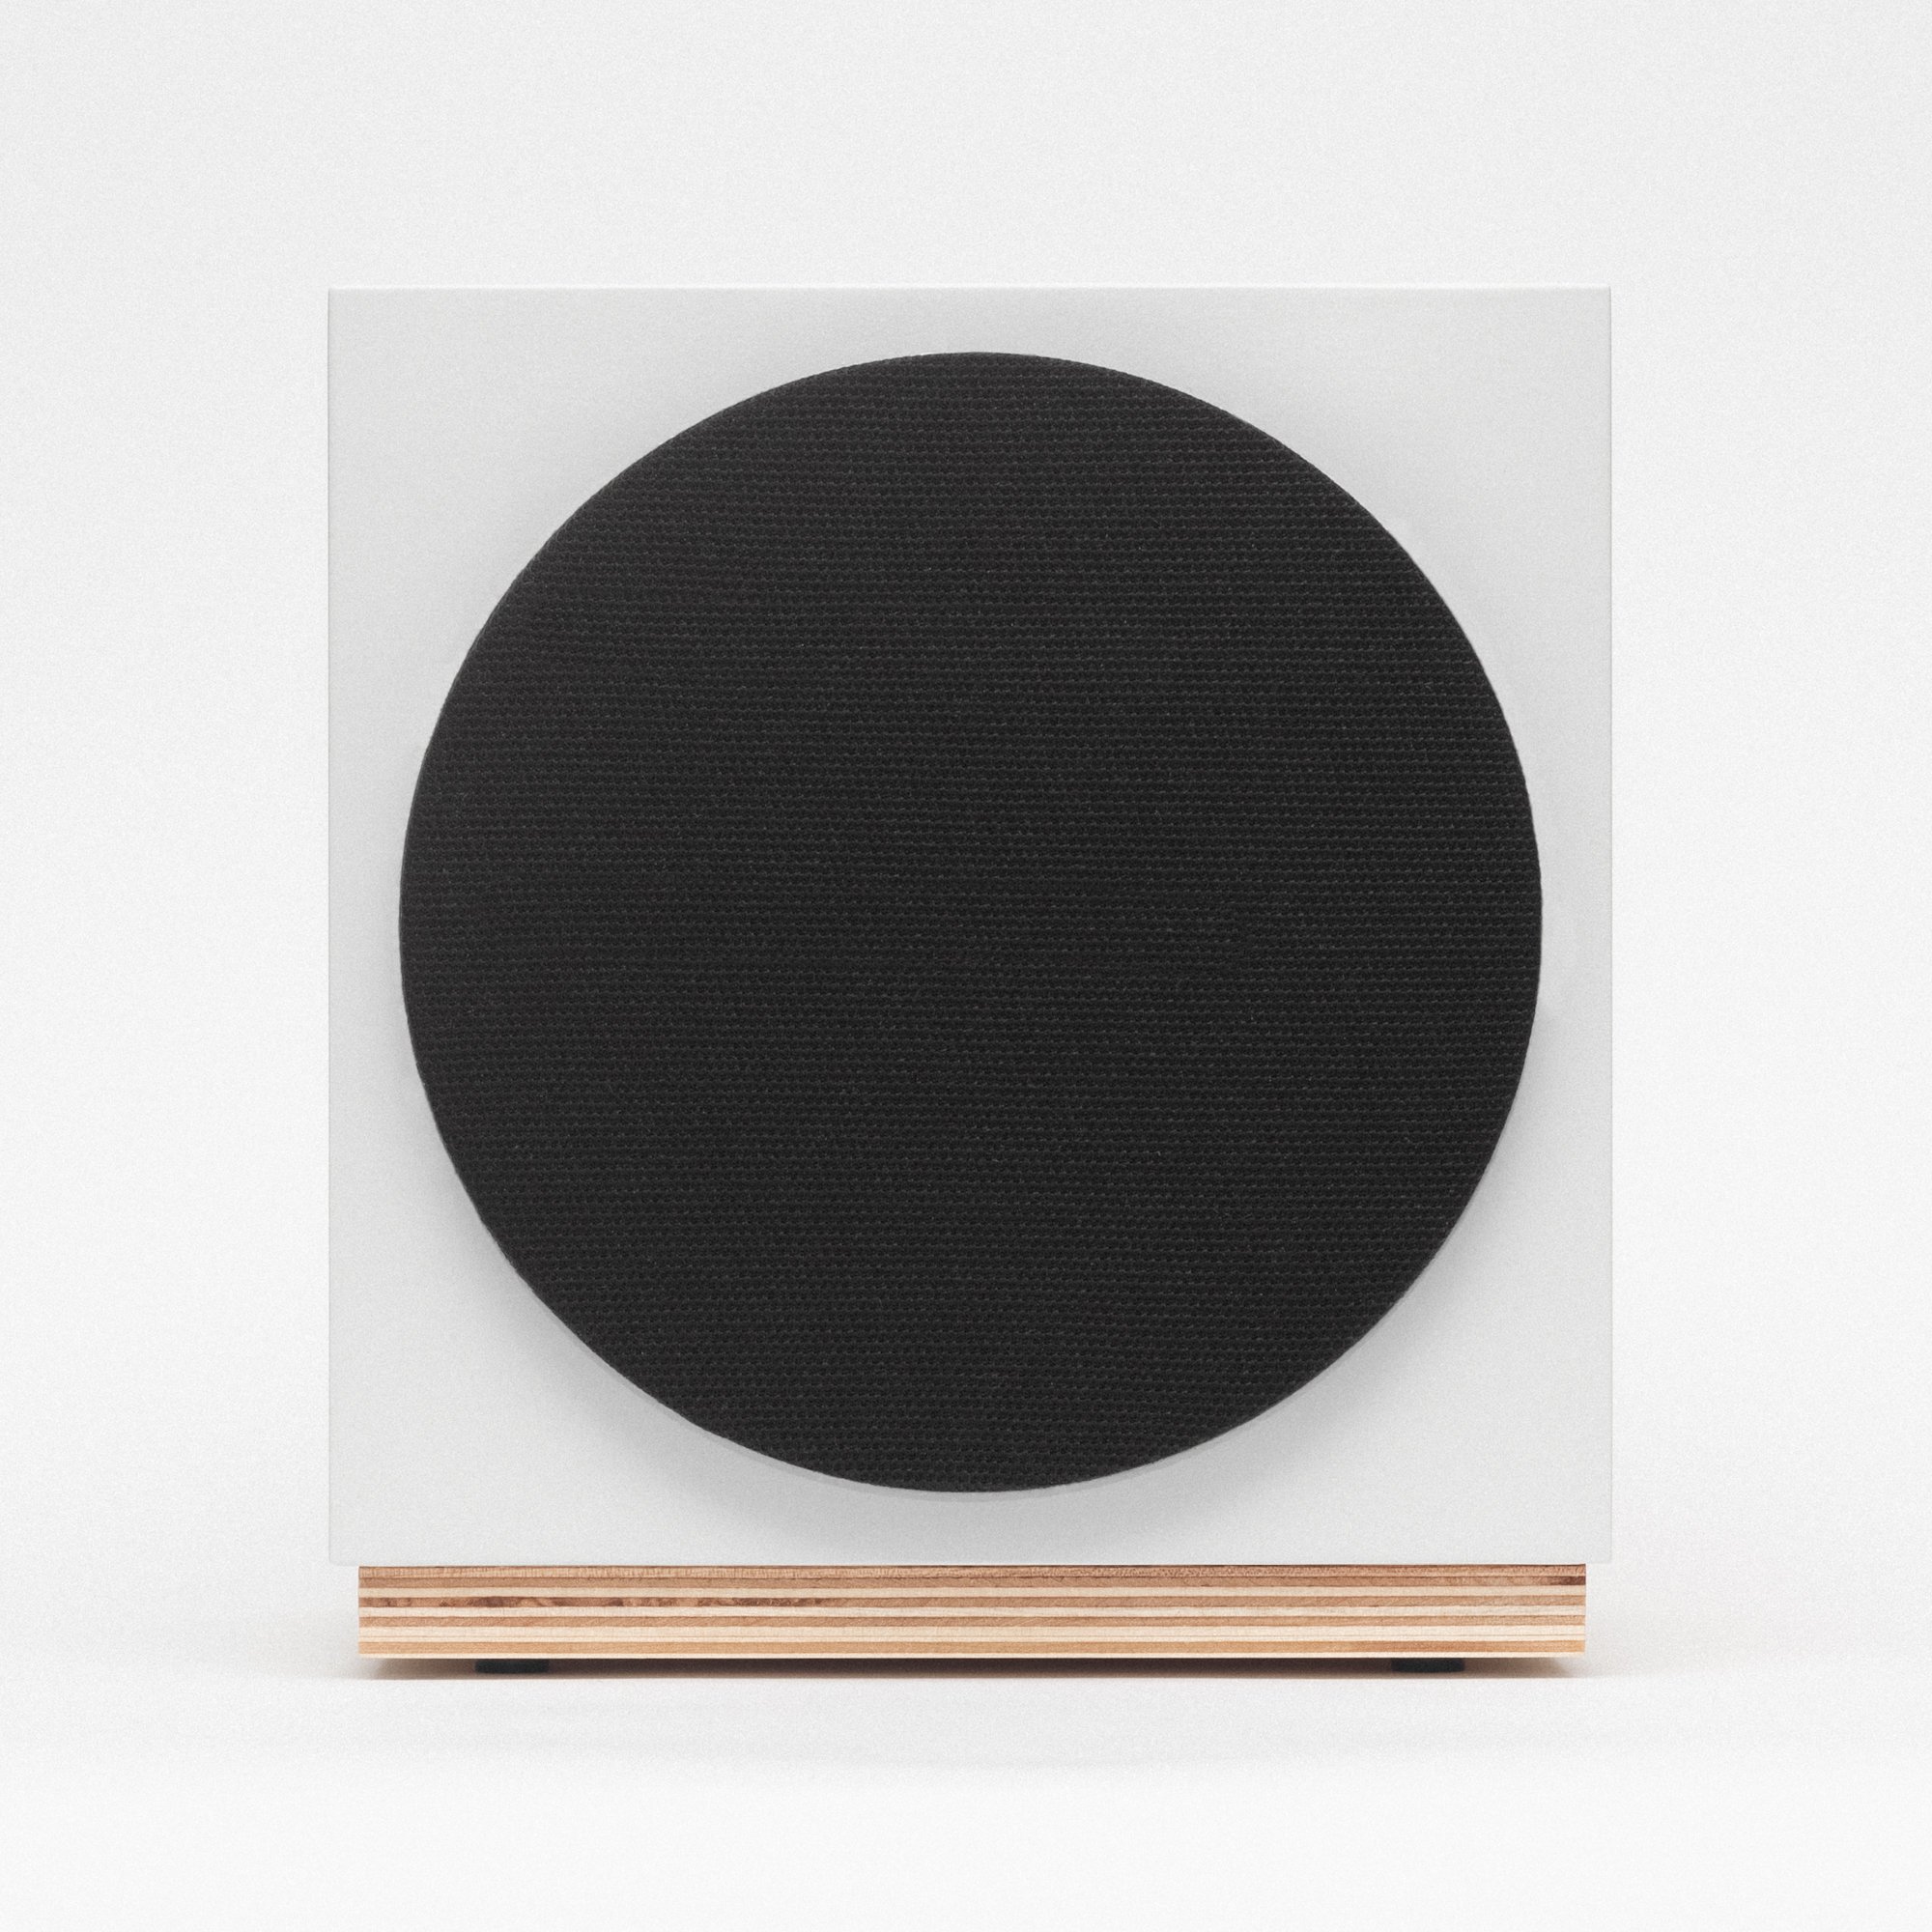
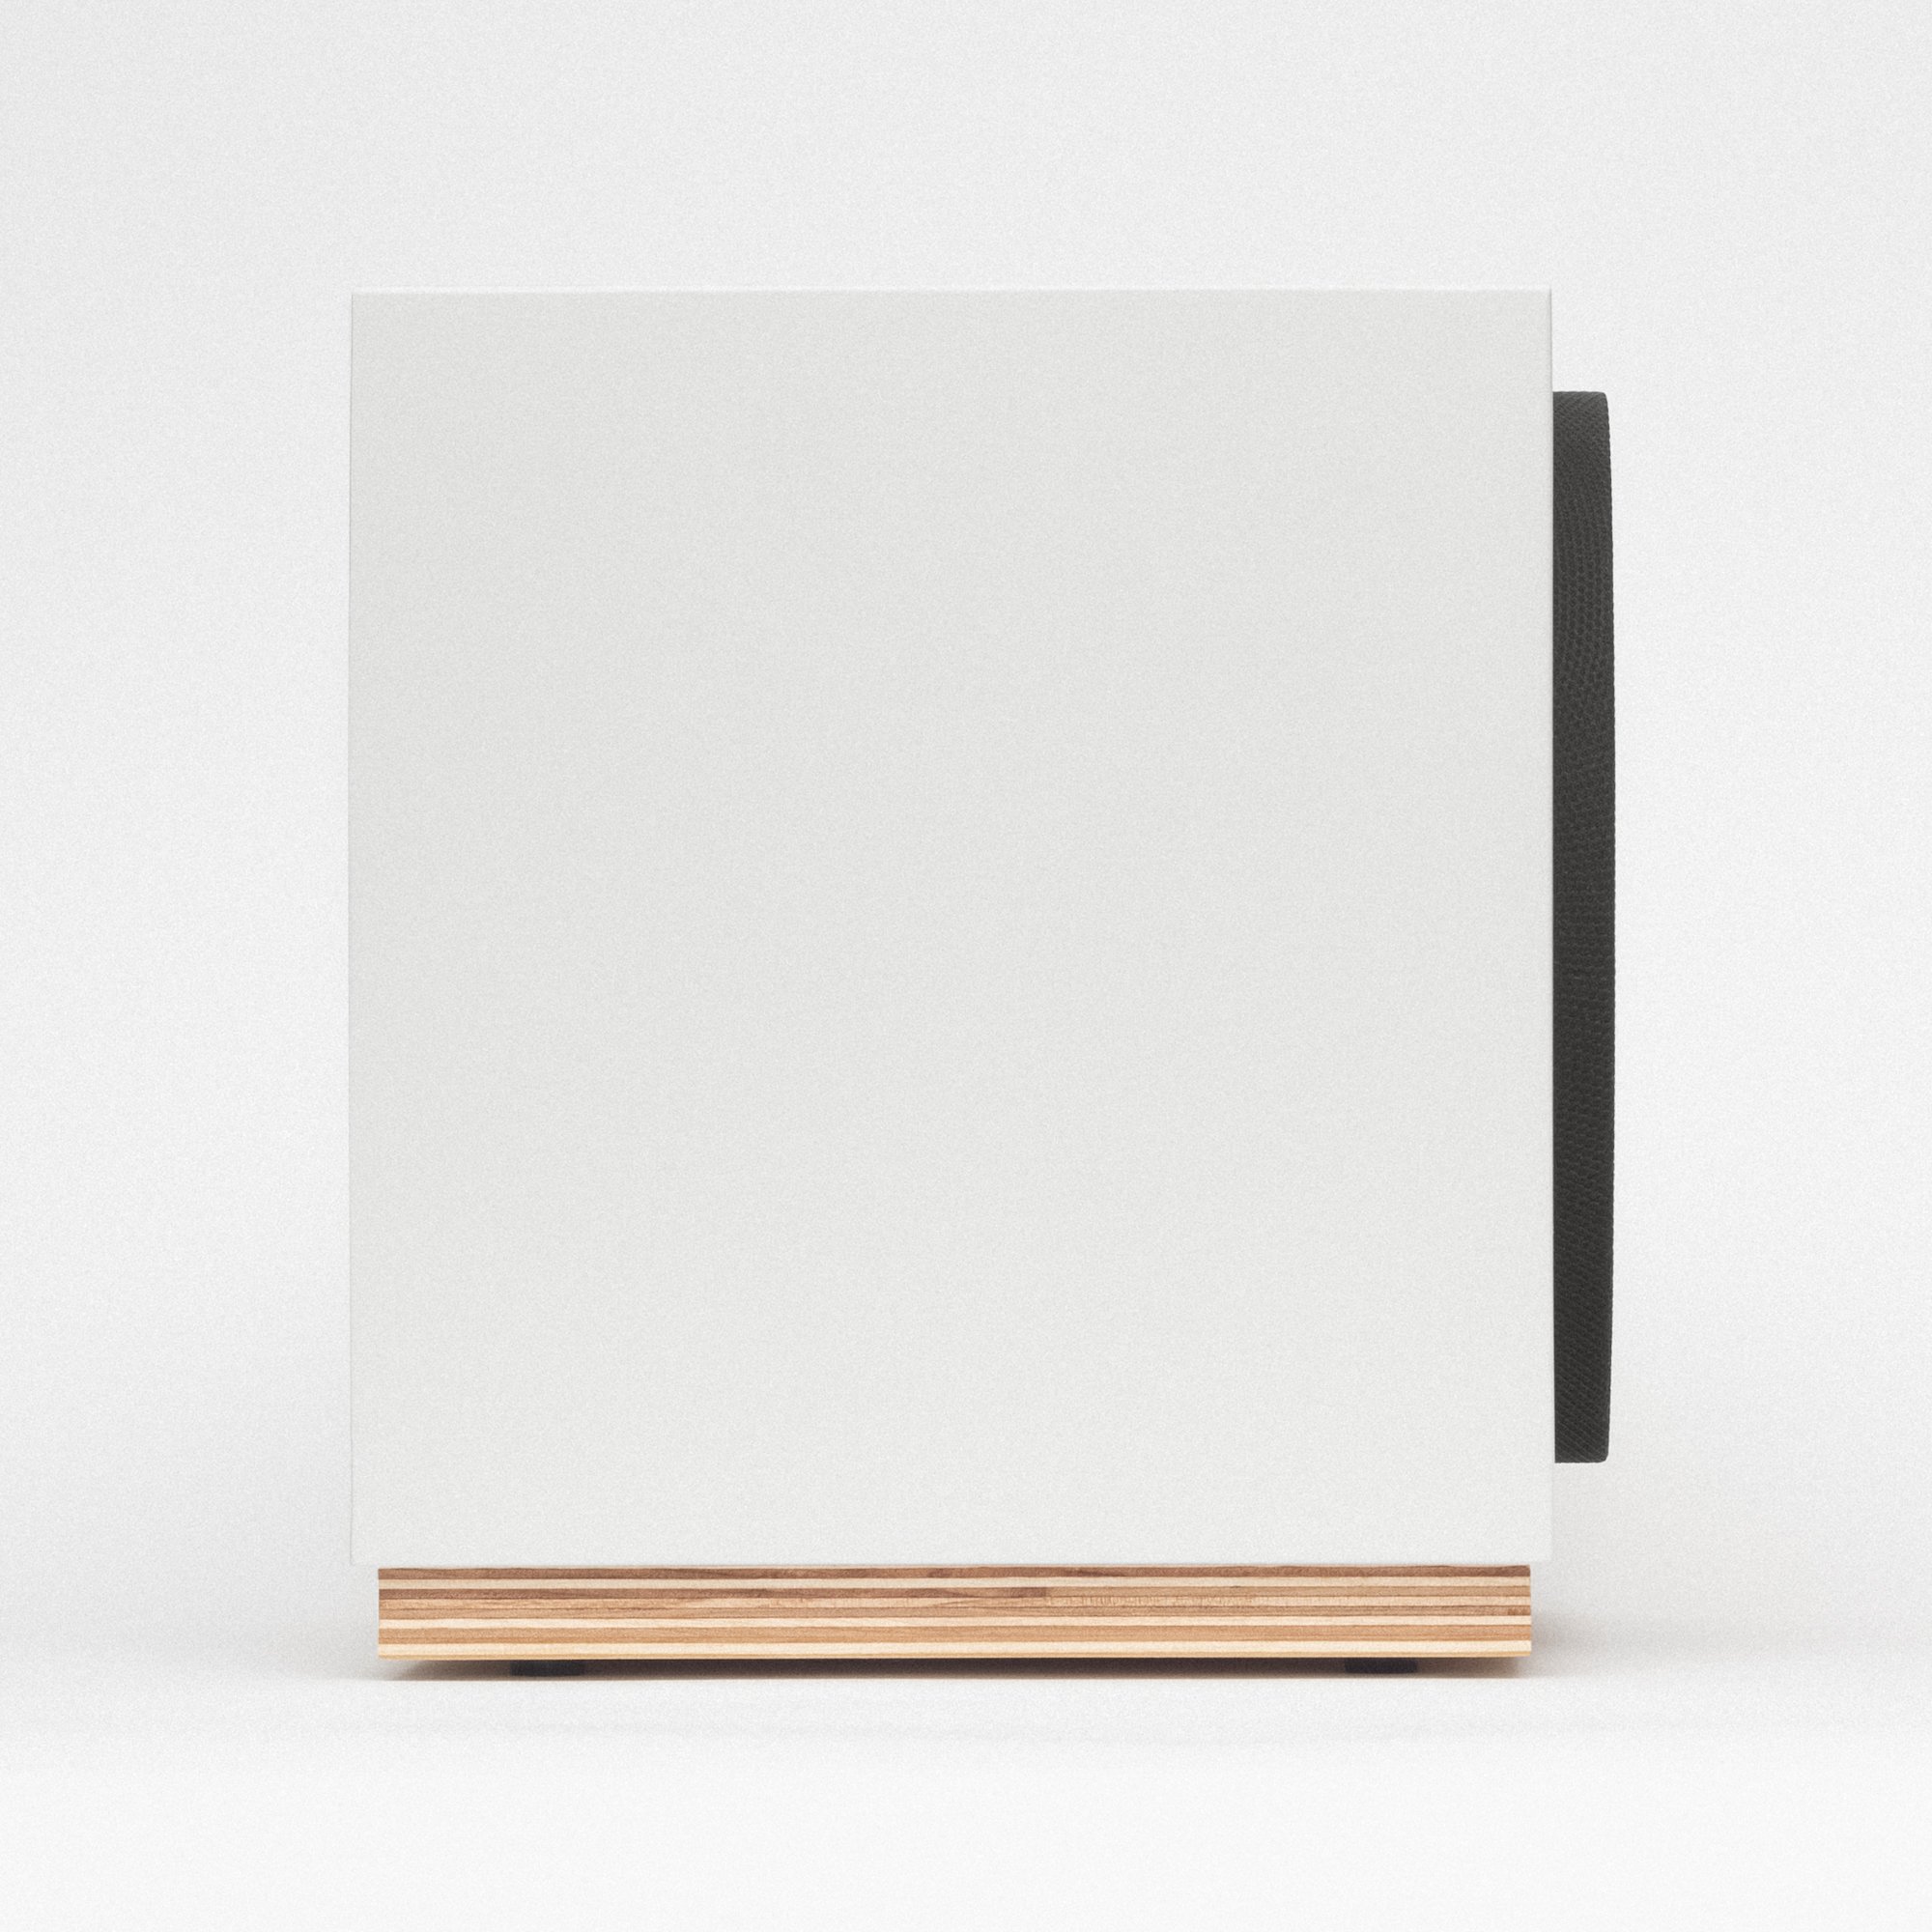
At first I wanted to lean into the gyroid, and create something with a very organic and unique form. But I decided didn't want something that didn't look like a speaker the second you look at it. So I inevitably stripped it back to what I feel is the essence of a speaker: a box with a circle on the front. I also wanted to reference a traditional speaker in some way, so incorporated some wood, as well as some classic speaker fabric from the 1970’s.
basic model
Based on some rough napkin sketches, I set up a parametrized CAD model with simple shapes representing the main visual components. This makes it really quick and easy to fine tune the form and proportions of the components and visualize it in 3D with basic materials applied. I played with all the different parameters until I settled on a concept design.
printing it
One of the major advantages of this speaker construction method is the ability to 3D print it as a single piece. This not only ensures a robust structure but also eliminates the need for additional assembly, gluing, or fastening. For the printing process, the initial two layers were printed using clear PETG, followed by the remaining layers in white PETG. The entire print took approximately 18 hours and consumed about 1kg of filament. To speed up the printing process I used a 0.8mm nozzle.
other components
The wood (Baltic birch) base was cut using a jigsaw, following a 3D printed template. Additionally, a small aluminum backplate was made to surround the two ports. It was cut using a jigsaw and refined with hand files for a precise fit. To create the speaker grille, fabric was wrapped over a small 3D printed grille and secured using a retaining ring. The fabric was then secured in place with CA glue, and the retaining ring was removed.
color and finish
The main enclosure was filled with bondo, sanded, primed with filler primer, and sanded again. This was repeated 4 times with slowly increasing grits. It was then spray painted and left to dry for a few days. The Baltic birch was sanded and a thin layer of danish oil was applied.
assembly
Heat set inserts were installed using a soldering iron, the speaker drivers were installed, and the electronics were soldered. The baltic birch base was screwed in, rubber feet were added over the screw holes, then finally the grill was installed.
finishing touches
Once the speaker was completed, I took sound measurements using an audio measurement microphone. I then compared the obtained frequency response with the desired frequency response (Harman curve) in order to generate filters and apply them to the amplifier's DSP.
conclusions
Overall I'm incredibly happy with how it turned out, it sounds amazing and I use it nearly everyday. However, I can't shake the feeling that this is just the beginning of what can be achieved with 3D printed speakers. There are countless possibilities for intricate and distinctive designs. This project only scratched the surface, and I hope that others will take this concept and push it further, creating their own innovative variations.


